
If you are displaying images in a row with varying dimensions, the crop wizard allows you to crop all of the images in one go, to a range of standard shapes. The original image file is not changed; the unwanted edges of odd sized images are simply visually hidden.
Hover over one of the images, click the crop icon to open the crop image wizard.
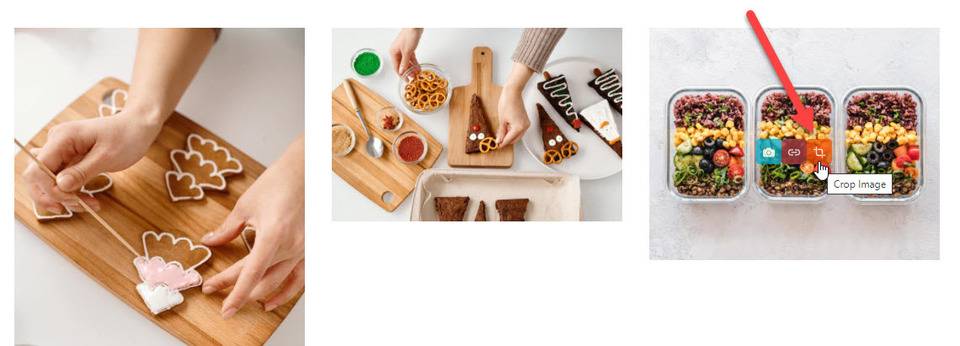
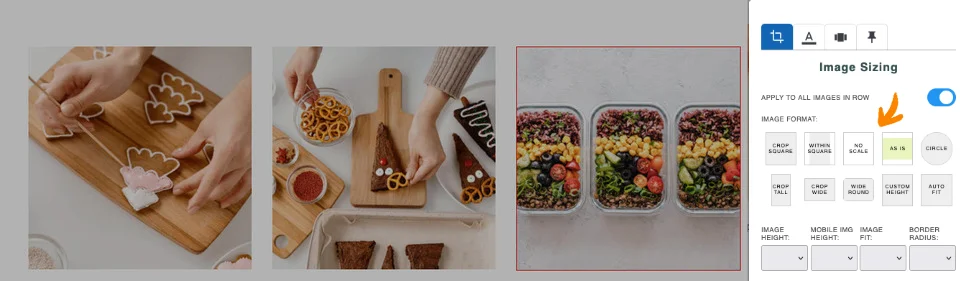
To crop all of the images at once, the blue slide tab must be shown. By hovering over each IMAGE ASPECT / SHAPE, you can view in realtime what your photos would look like. Click upon your chosen shape and out of the wizard box to make the changes.
Changing the viewed area of a cropped/clipped image
By default cropped/clipped images are centered within the viewable area. You can change the image position to any of the corners or edges e.g. LEFT TOP, BOTTOM CENTER to reveal a different part of the image via the IMAGE POSITION dropdown.
Custom image heights
Using the shape option CUSTOM HEIGHT allows you to change the height of the cropped image via the IMAGE ASPECT HEIGHT dropdown.
Options for mobile
You can override the desktop setting for Mobile using one of the preset mobile options available via the MOBILE IMAGE HEIGHT dropdown.
Cropping / Resizing the original image
While this editor popup only crops/clips the image without touching the original image, you can crop the original image file via the CROP / EDIT IMAGE FILE button at the base of the popup.