
Many of you are aware of the font selections available from the CMS system. However traditionally these have been restrained by generic font families that are available on the viewers computer. Now there is the ability to use any font you like on your website by linking to online font depositories such as Google Fonts!.
On their site Google provide a demonstration video on how to apply one of the fonts from their font library to a website. https://fonts.google.com/ However there are a few differences when using our system so I will explain the process in full.
Adding Google Fonts to your website.
First of all go to the web site https://fonts.google.com/
Font filter options
The Next Step
Once your font is selected you will then be shown embed codes in the Selected Families Sidebar
Use on the web: This is the code and link that is needed to be added to your CMS Template.
There are two options available the simplest of these is the standard option. Which provides a link to your selected font family as shown below
<link rel="preconnect" href="https://fonts.googleapis.com">
<link rel="preconnect" href="https://fonts.gstatic.com" crossorigin>
<link href="https://fonts.googleapis.com/css2?family=Roboto:ital,wght@0,100;1,100&display=swap" rel="stylesheet">
CSS rules to specify families: Displays the Font Family needed to input into our fonts area or your stylesheet (for advanced Users)
font-family: 'FontName', serif;
You need to copy the code from Step 1: and the font-family from Step 2: exactly and paste them into your website template. In our system there are several ways to do this. The best option is the following:
Adding the code to your website.
- Log in to your account.
- Select the site you are working on (if you have more than one)
- In the top menu click the DESIGN button then select "Set Fonts and text colours" from the Colours, Fonts and Styling section
- On the following page find the Font Family / Font Type / Font Sizing section
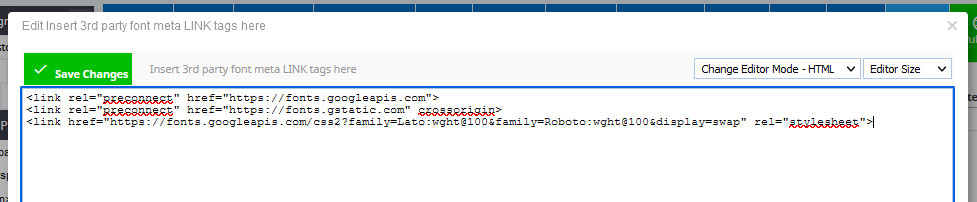
Firstly: we need to add the google code from Step 3: which will tell your template where to find the font.
Go to "Insert 3rd party font meta LINK tags here". Click Edit to the right. in the Pop Up window paste the code you copied from google here. "Save Changes" and close the pop up window.
Applying the font to your template via Design > Font settings area
Secondly: we need to tell the system when to use the font.
In the Fonts section you have two options Font(General) and Font(Heading). Simply add the font family name from Step 4: to this area.

Save, Publish then preview your site. You may need to also refresh your browser to see the changes. CTRL + F5 You should now see that all you headings on your website have changed to your new font.
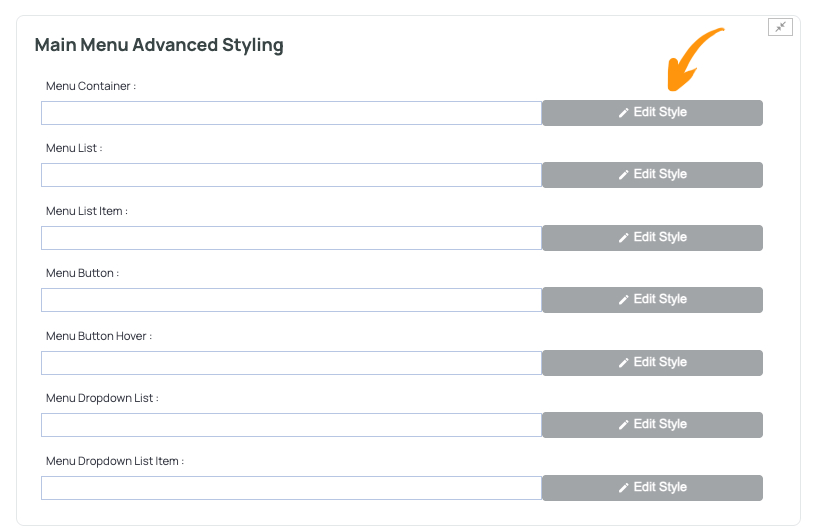
Applying the font to a specific content area via Design > Custom Style Elements
You can set the font for a specific content area or type via the Custom Style Elements section.
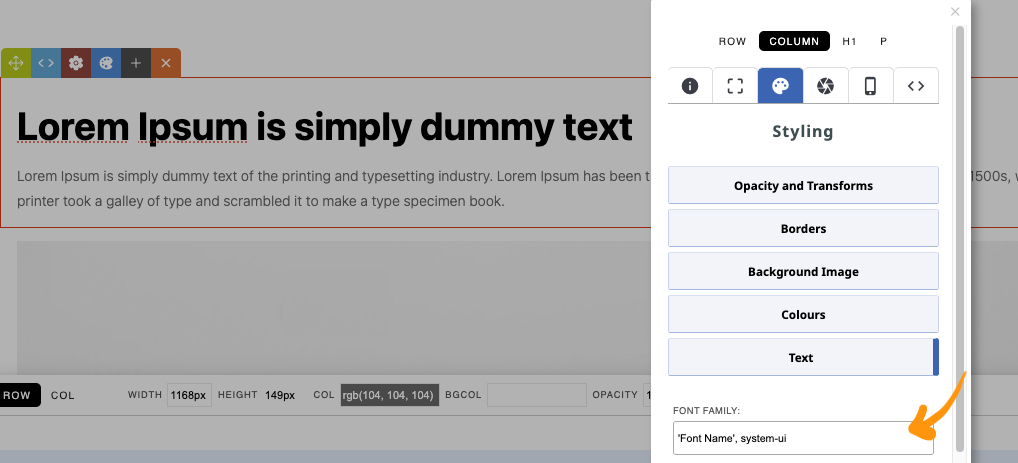
In our example below we are going to apply the custom font to the main menu container element.
You can add the font name to the font-family area and apply the changes.
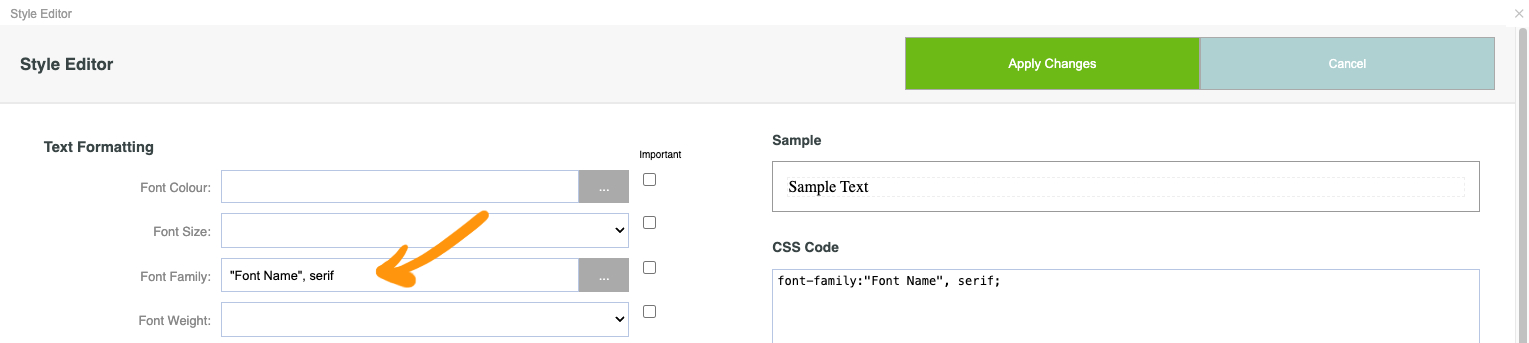
Applying the font to a specific content area via Style Editor
You can set the font for a specific content area or type via the style editor when using the Drag-drop or Contentbox editors.
For Advanced users editing Stylesheets
To use the selected font in your site you need to set up styles within the stylesheet. The simplest style to set up is your web pages headings which are dictated by a h1 tag.
Access the stylesheet by selecting Design in the Top menu of the CMS. In the drop down menu you will find “Custom CSS Style Sheets” under the “Advanced Users” area. From the list of possible stylesheets select the “GLOBAL STYLE SHEET”
In the Global Stylesheet area find the current h1 {} or if there are no styles applied to your template type the following code into the editor.
h1 {}
Then between the brackets paste the code copied from the google site.
h1 {
font-family: 'FontName', serif;
}
Save, Publish then preview your site. You may need to also refresh your browser to see the changes. CTRL + F5 You should now see that all you headings on your website have changed to your new font.