Contentbox Backgrounds
Contentbox Sections can have Background Images, with or without tinted overlays, or a simple Background Colour.
Editing your Contentbox Section Background
Changing the Section Background image
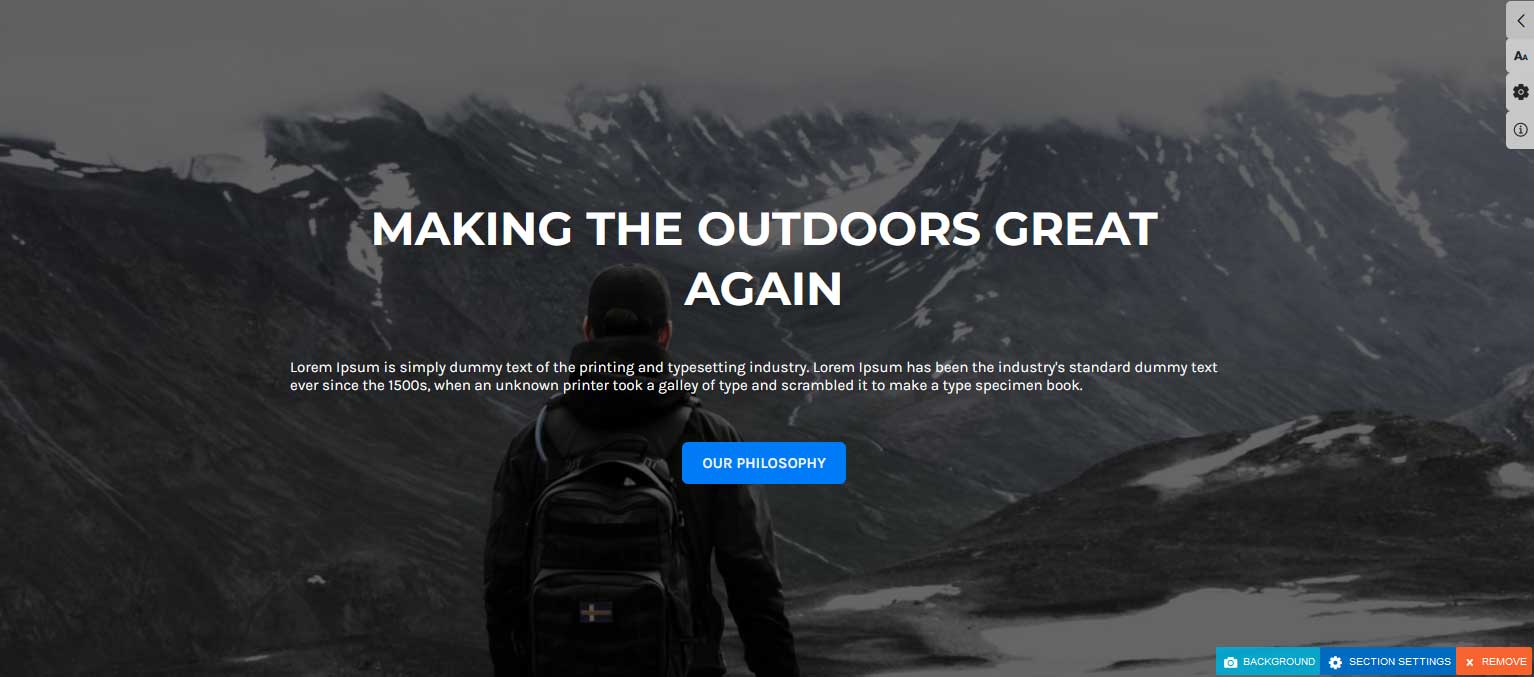
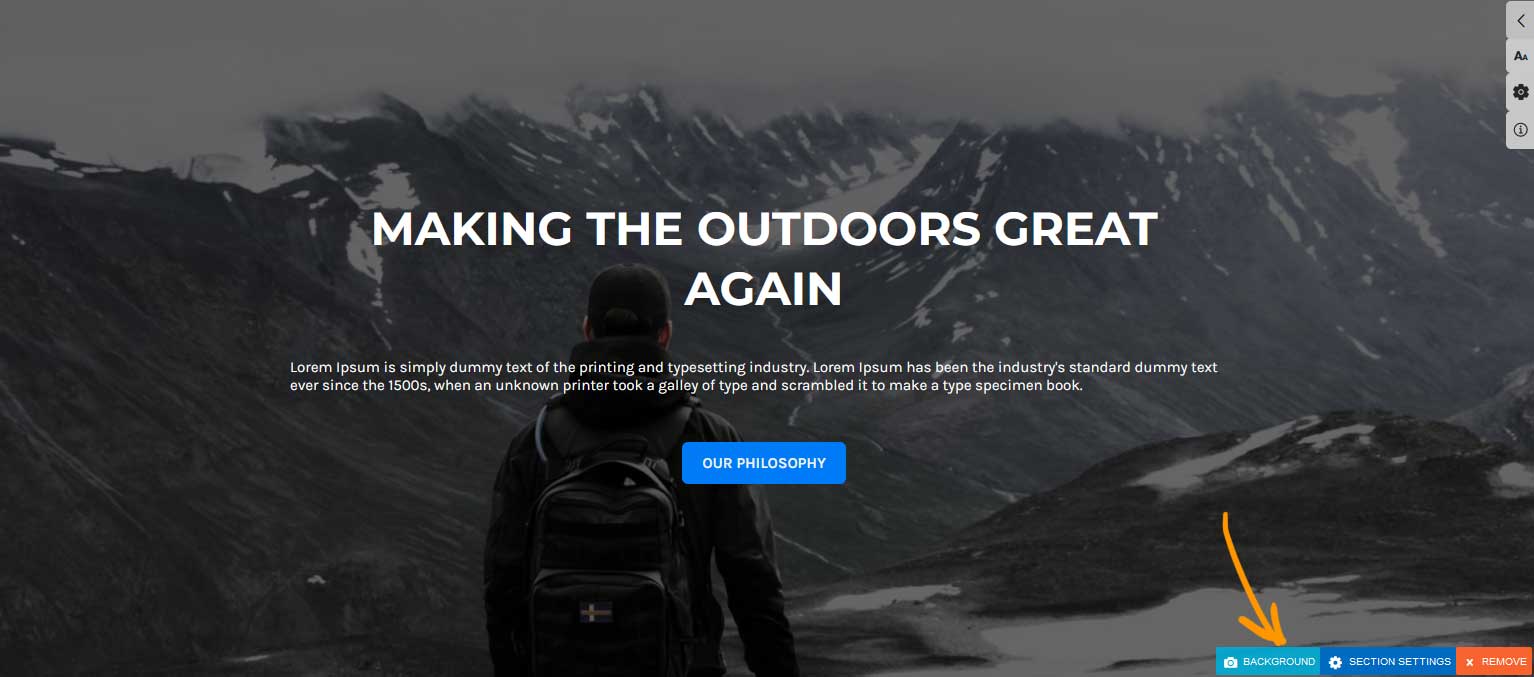
If your Section already has a Background Image
Click the BACKGROUND button at the bottom of the section.
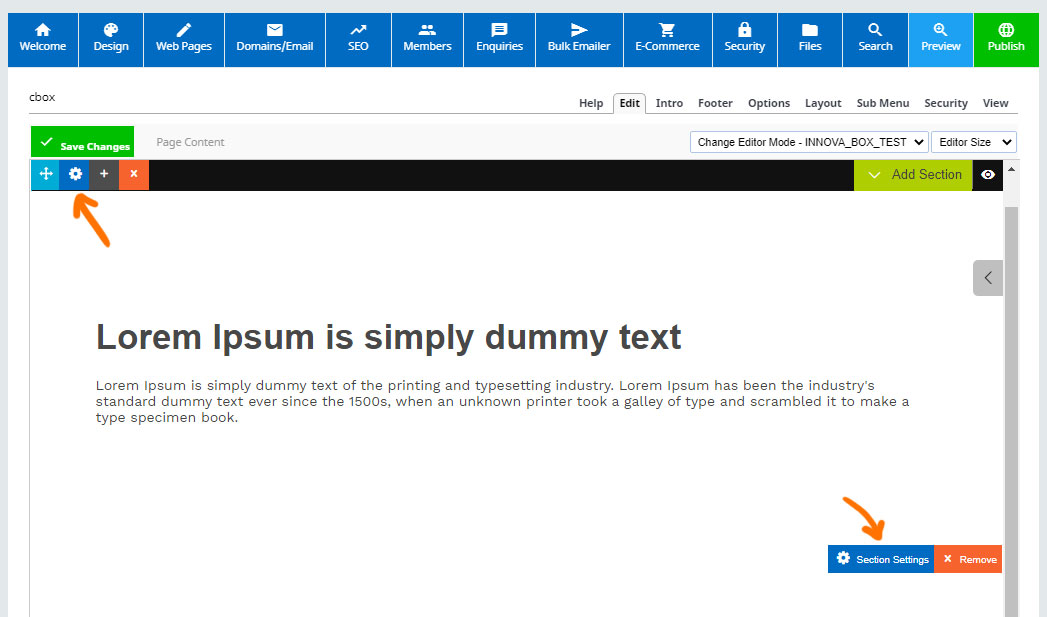
If adding a Background Image
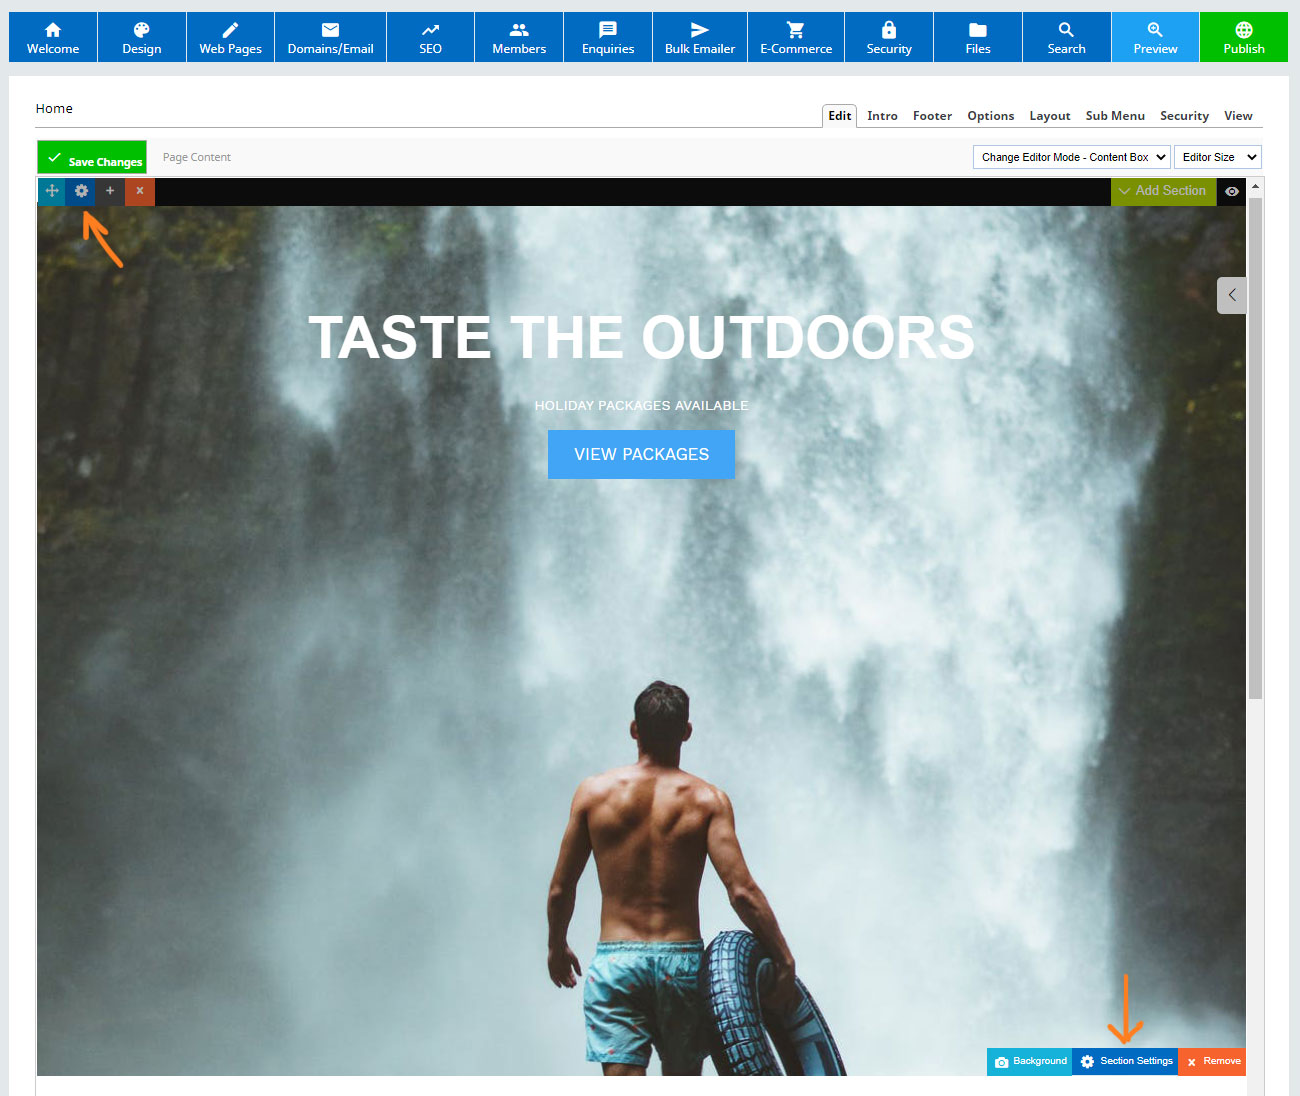
Click the section settings cog icons, either at the top-left or the bottom right to bring up the Contentbox settings popup window.
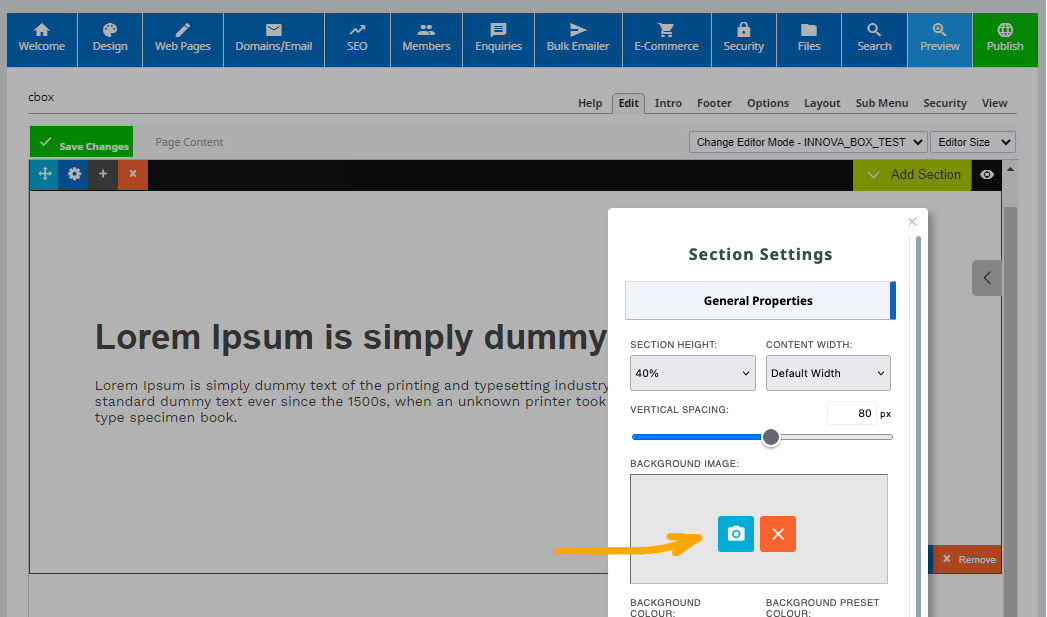
Launch the settings modal as per the above instructions then click the blue camera icon under BACKGROUND IMAGE to launch the image wizard.
Changing the Section Background colour
Click the section settings cog icons, either at the top-left or the bottom right to bring up the Contentbox settings popup window.
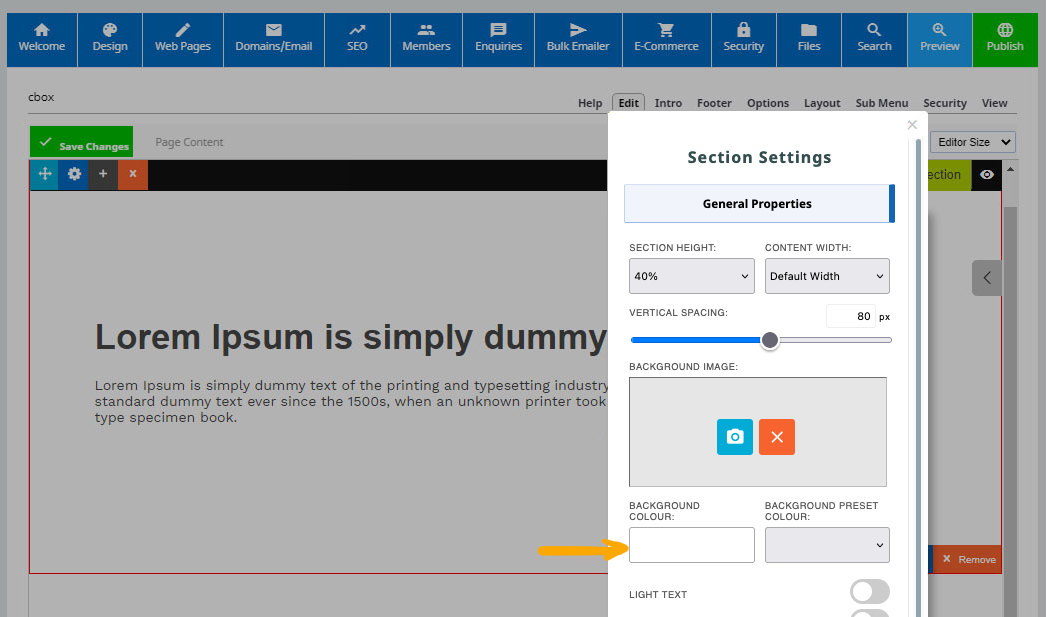
Launch the settings modal as per the above instructions then click BACKGROUND COLOUR field to launch a colour picker, or paste in a colour value.
Changing the Section Background Position
Positioning Background Images in Contentbox
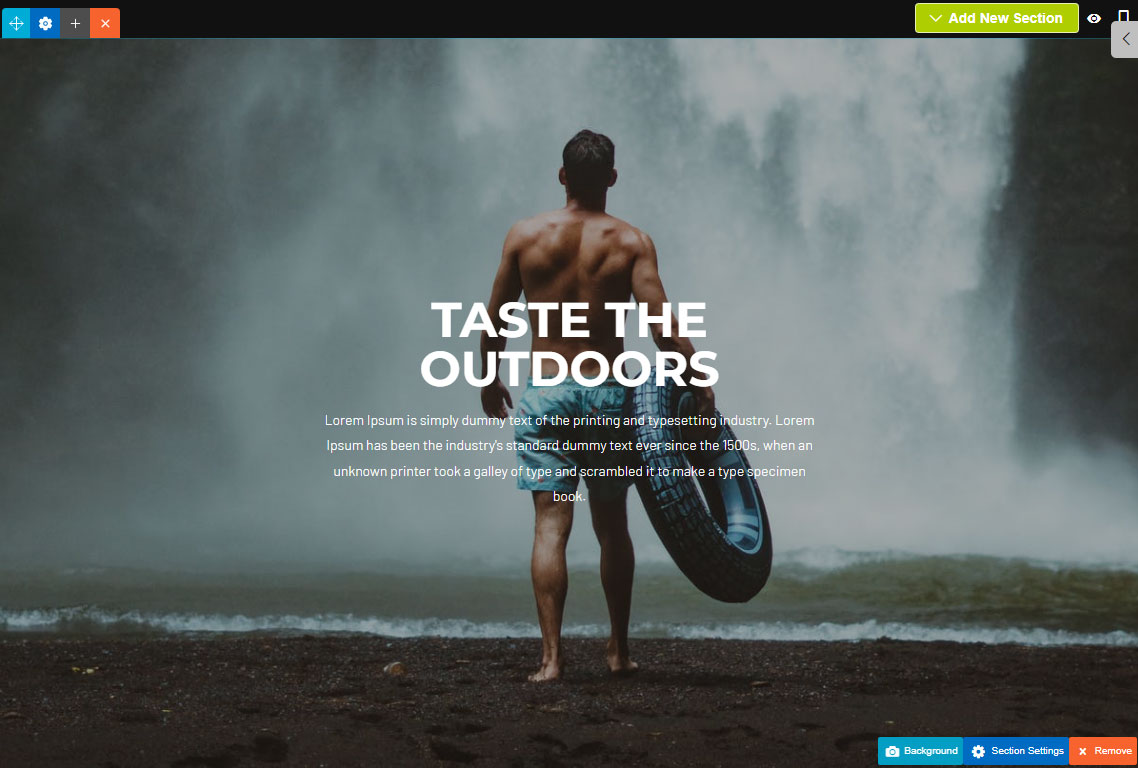
When adding an image to a Contentbox section, by default the editor scales the image to fit the available height and width and centers the image within the available viewable area.
This can sometimes cause issues with the photo positioning, in that a head might be cropped off, or a required element not being visible. Given that browsers windows can be different shapes and sizes changing the background position might not fix all scenarios but might still be a useful tool.
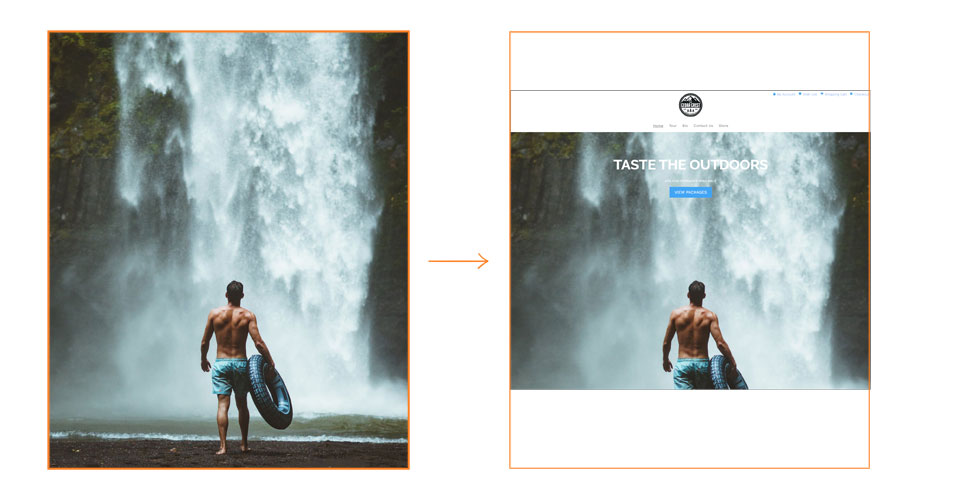
Above - the example of a tall image positioned in a Contentbox section. There is a lot of tall space above the image.
Cropping the original image
One approach is to go in and crop the original image in the Files > Photo Manager area. though this will permanently change the image dimensions and cannot be reverted.
Changing the Background Position via the Contentbox settings popup
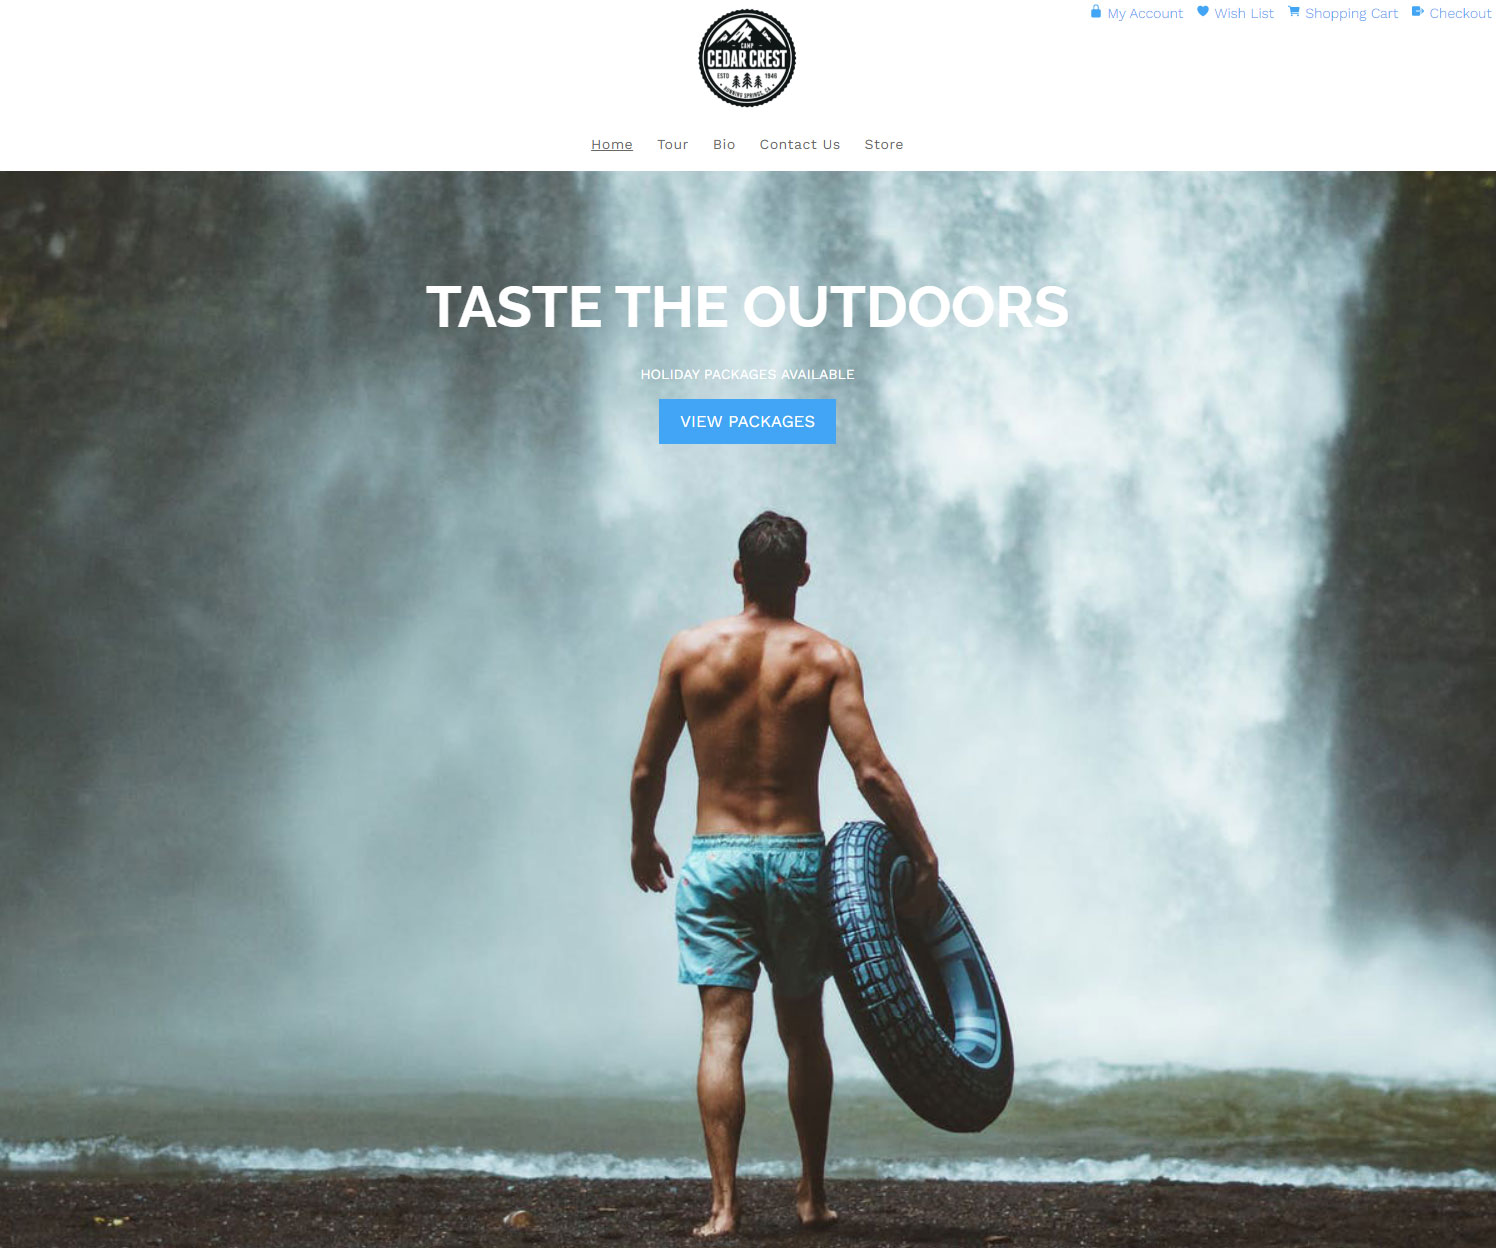
In the screenshot below you can see that the image is position a bit low in the window when centered.
To change the background position, click the Contentbox Settings icon, either top-left, or bottom right of the section.
With the Section settings popup showing, choose the BACKGROUND SIZE / POSITION section and then the BACKGROUND POS setting.
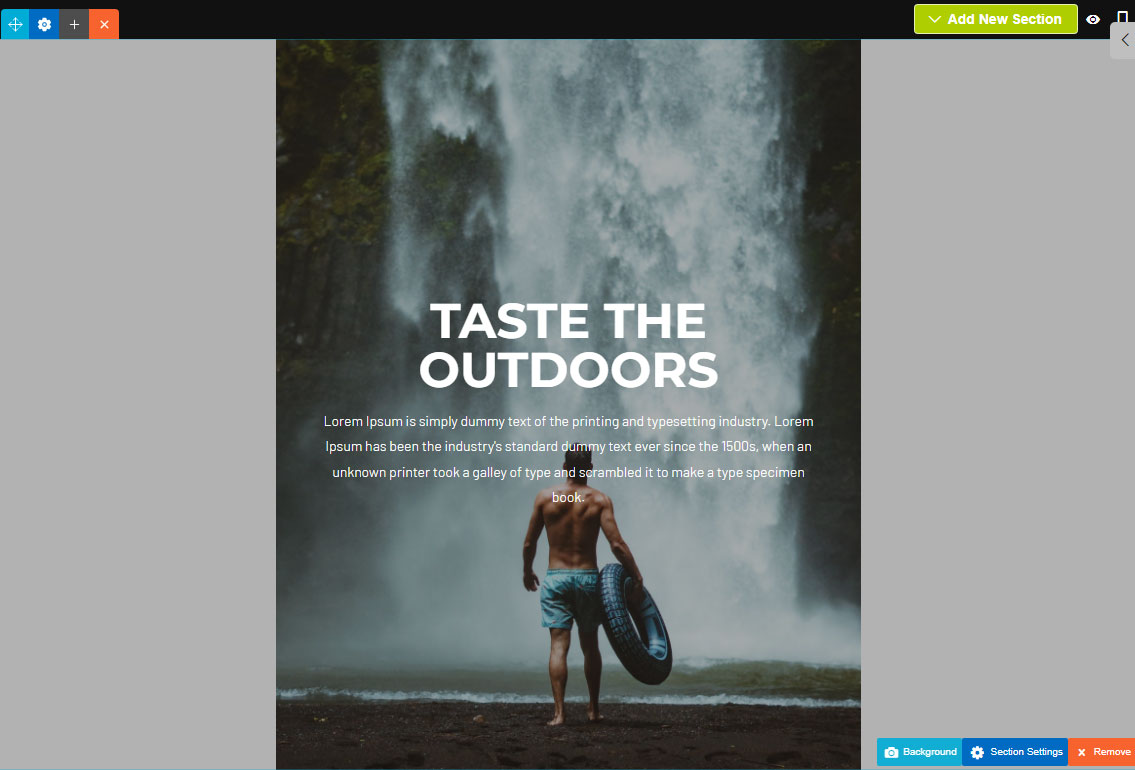
Changing the background pos to CENTER BOTTOM (Down Arrow), retains the horizontal centering but vertically locks the image to the bottom of the sections rather than the center.
When viewed on the site the background is now locked to the bottom on the site.
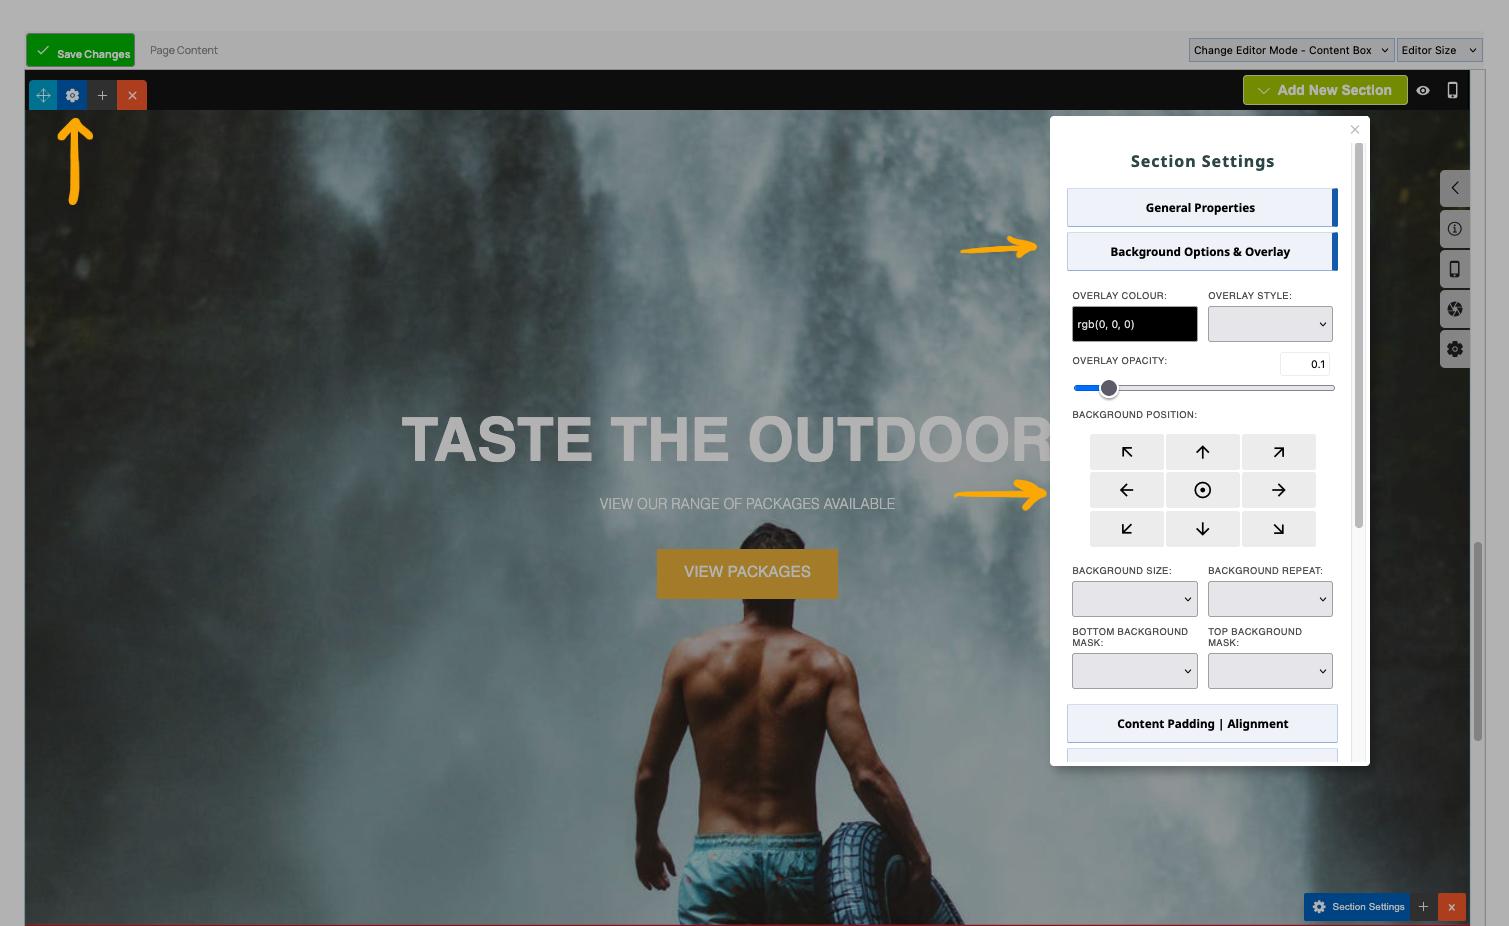
Adding a Background Tint
- Click the dark blue cog icon top-left of the section to bring up the Contentbox settings popup.
- From the Contentbox settings window that pops up, select BACKGROUND OPTIONS & OVERLAY.
- From the options that show, click the OVERLAY colour field to open the colour picker, or paste in a colour value.
- Set the opacity as needed via the Overlay Opacity dropdown
- Click out of the window to close, then save your changes.

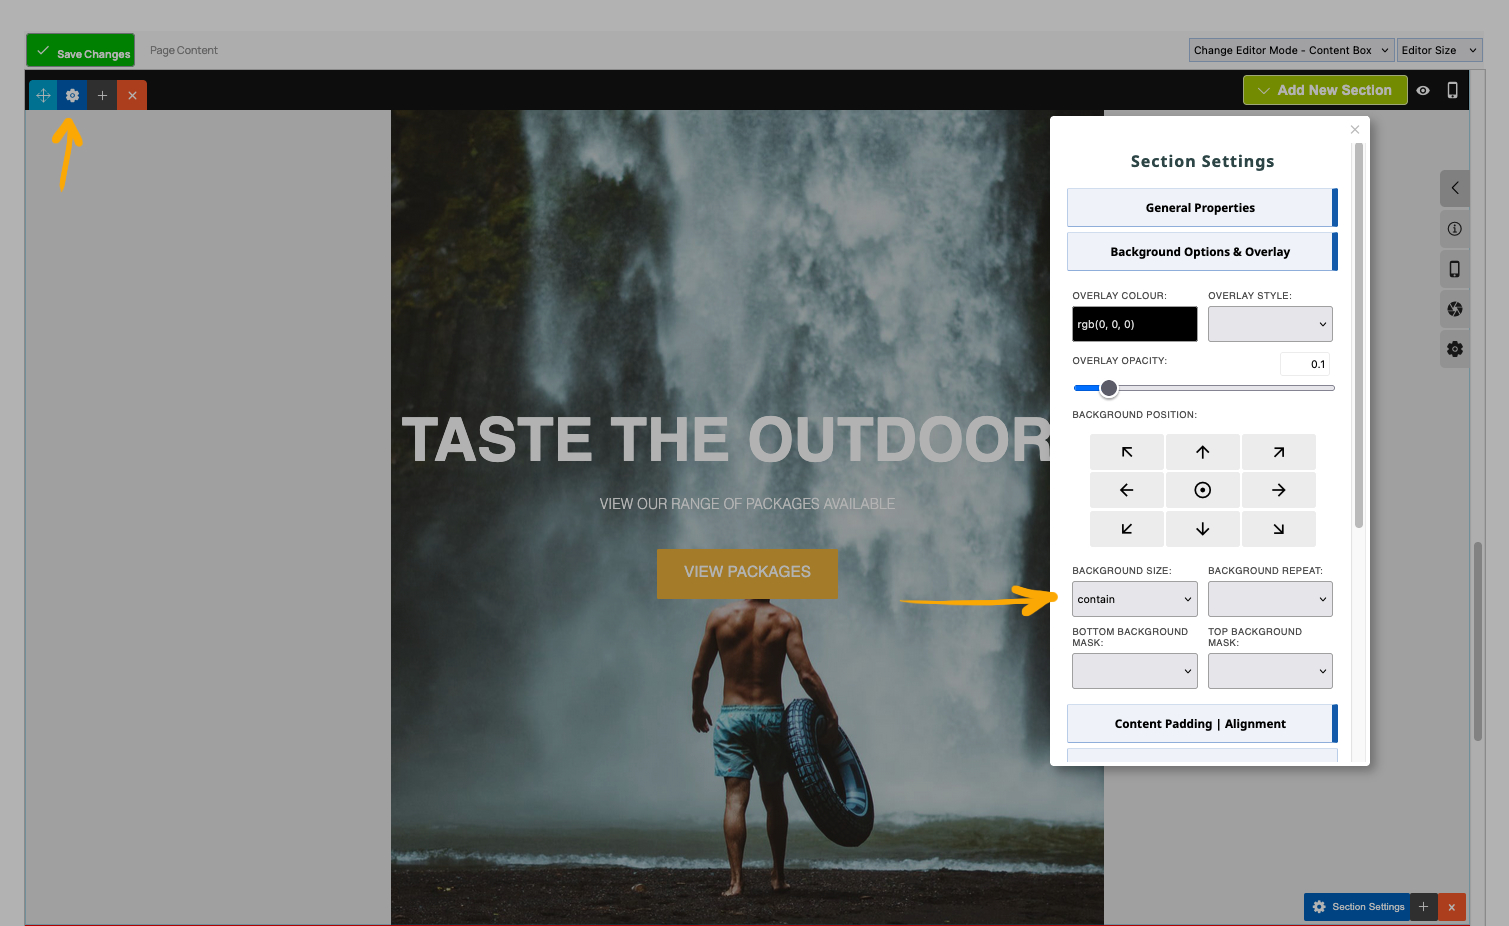
Background Size - Cover vs Contain
By defaut Background Images will attempt to Cover the available space but it is possible to set the image to be Contained within the available area.
Background Size - Cover
Background Size - Contain
To set your Background Size
- Click the dark blue cog icon top-left of the section to bring up the Contentbox settings popup.
- From the Contentbox settings window that pops up, select BACKGROUND OPTIONS & OVERLAY.
- Set the Background Size and click outside to close the window, then save your changes.
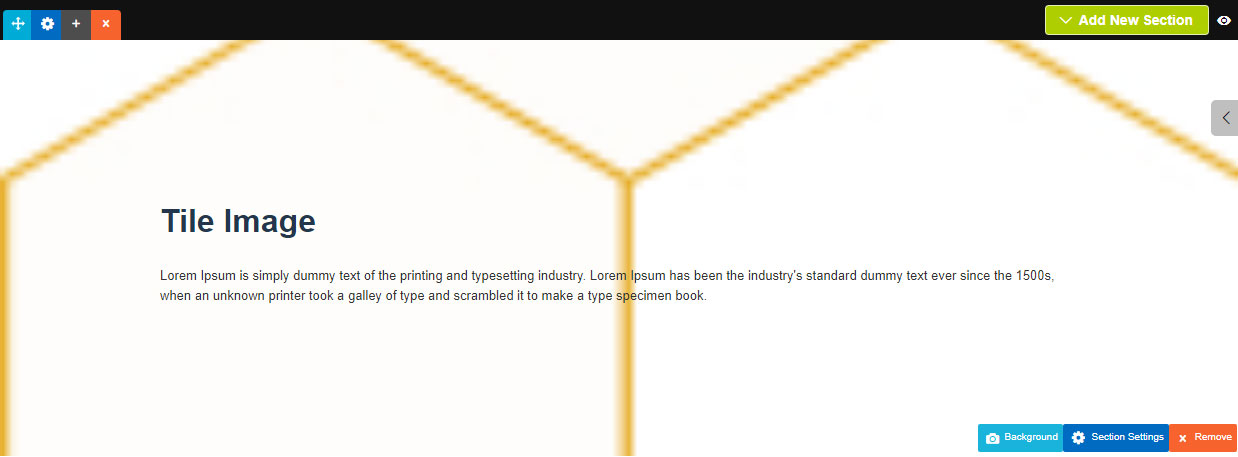
Titling a Background Image or Texture
When uploading a background image - by default the image will stretch to fit the available area but it is possible to tile the image instead.
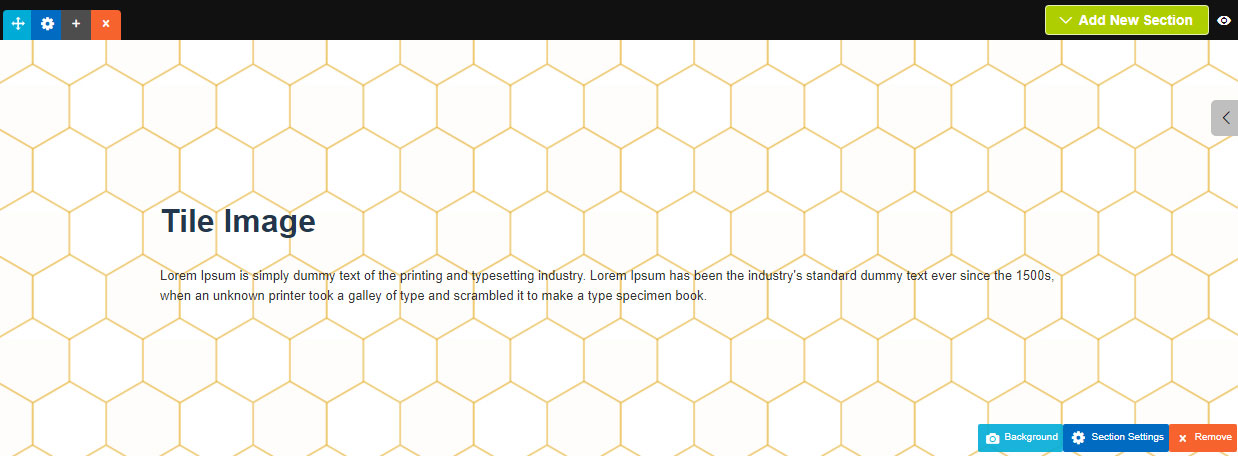
Using the following hex-tile pattern shown below:
Adding the image as a background image will scale the image to fit.
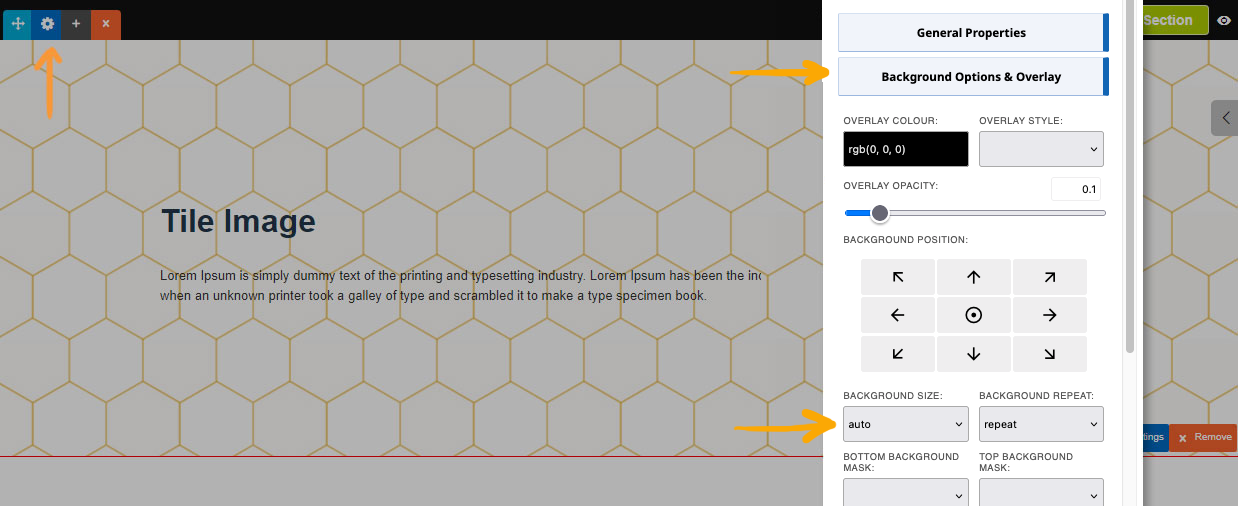
But by changing the background size to Auto and the repeat setting to Repeat, the image will tile in the available area.
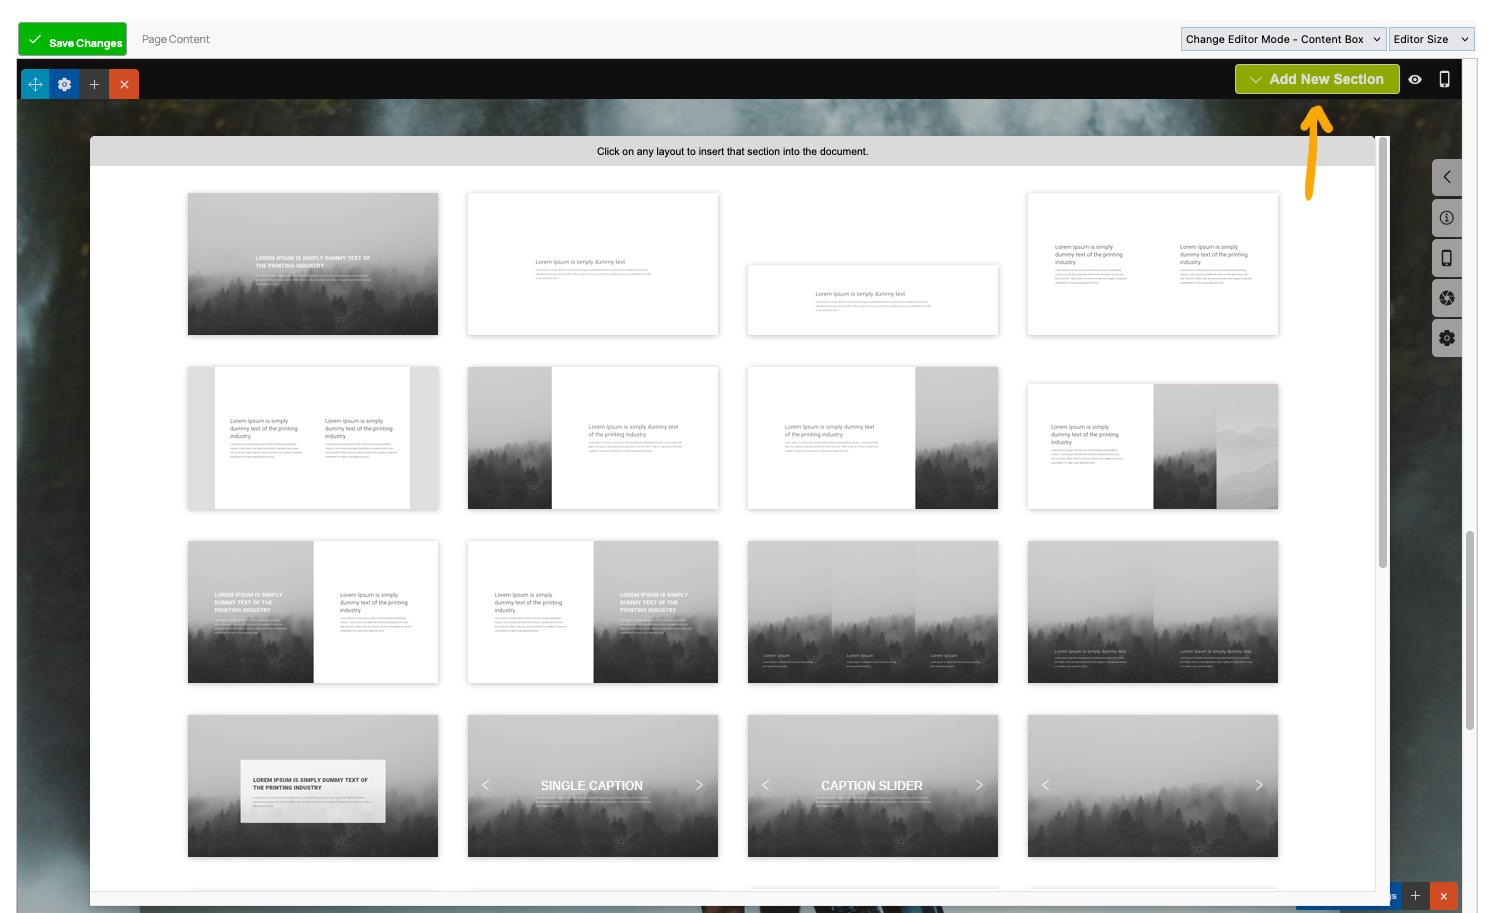
Adding a new Background Section - Different formats to choose from
There are many pre-formatted section layouts, that include background images, along with some that have 2 column layouts with background images in one column.
Click the + ADD SECTION button top right when editing a section, then choose the section layout required from the popup.