Branch List Directory
A Branch List Directory is a directory page type with scope to be used as a Store Locator, or for showing stockists of your Products.
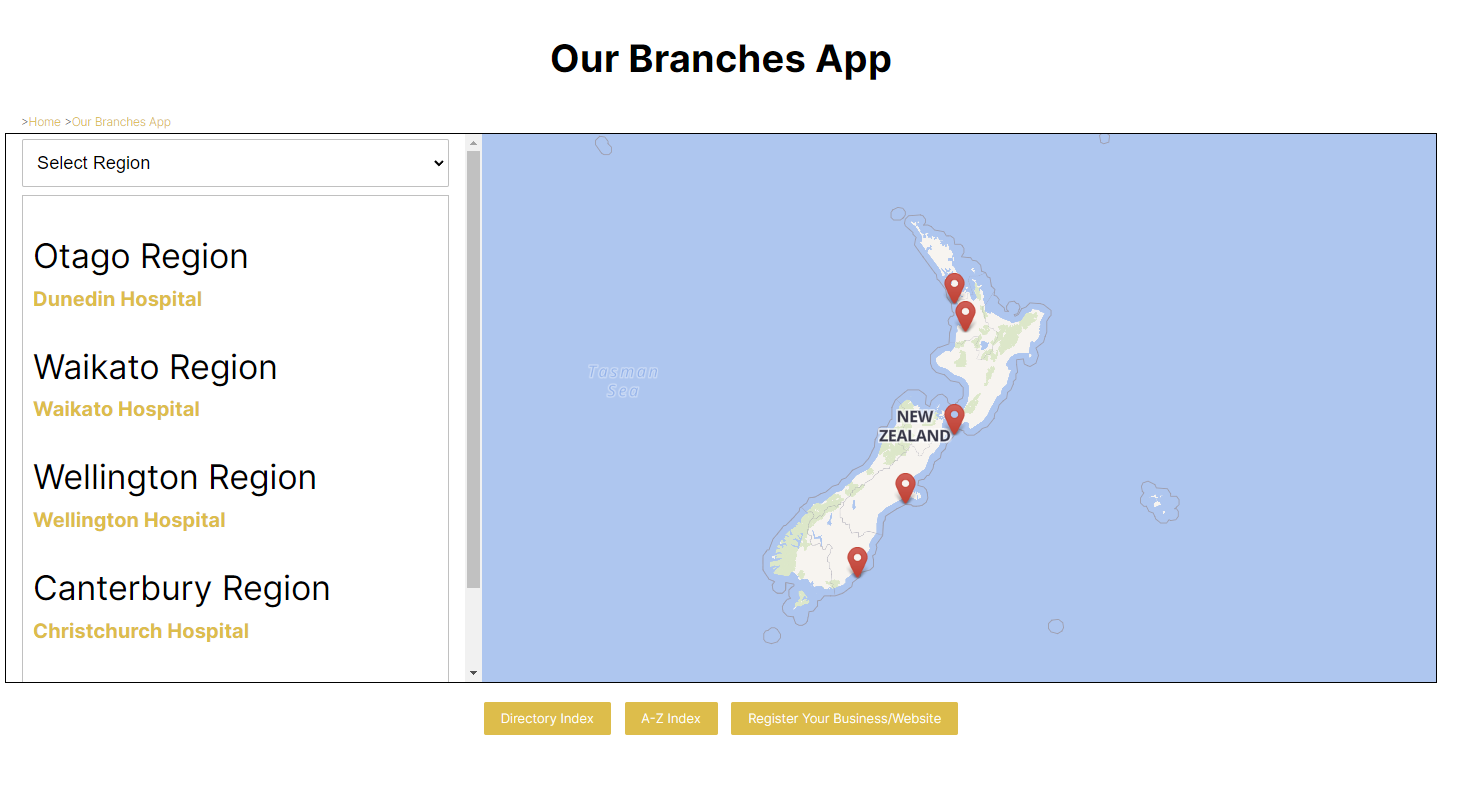
The Listing page shows the list of branches with a map of New Zealand on the right hand side. Pins show the location of the directory listings on the map.
- Each listing has a button to View the branch / stockist.
- Each Pin can be clicked to popup branch information
Management of the page listings are handled the same way as a standard Directory page.

Branch List Directory Layout

Branch List Directory (App Style) Layout, with listings grouped by region classification

Centering the main map
Via Street address
You can look to centre the map by entering an address in the Map Center Address field.
Via GPS Coodinates
Alternatively you can center the map location by adding GPS Latitude and Longitude coordinates to the Pages SETUP page > Setup Map section.
There are two fields for Map Center Latitude and Map Center Longitude
If unknown, you can find GPS coodinates via an online search.
Example Coordinates (Correct Positioning depends on map zoom level / map ratio)
Australia
Lat: -43.00311
Long: 133.61194
New Zealand
Lat: -47.30827
Long: 174.77973
Setting the map zoom level
In the Setup Map section you can specify a zoom level for the map. The default 1 - Max setting is zoomed out to show the entire globe. 4 Medium Country gives a reasonable result.
Setting the Pin locations via GPS Coordinates
When adding each listing you can set the GPS Latitude and Longitude via the Map Co-Ordinates section on the business listing page.
Adding the business address and other details
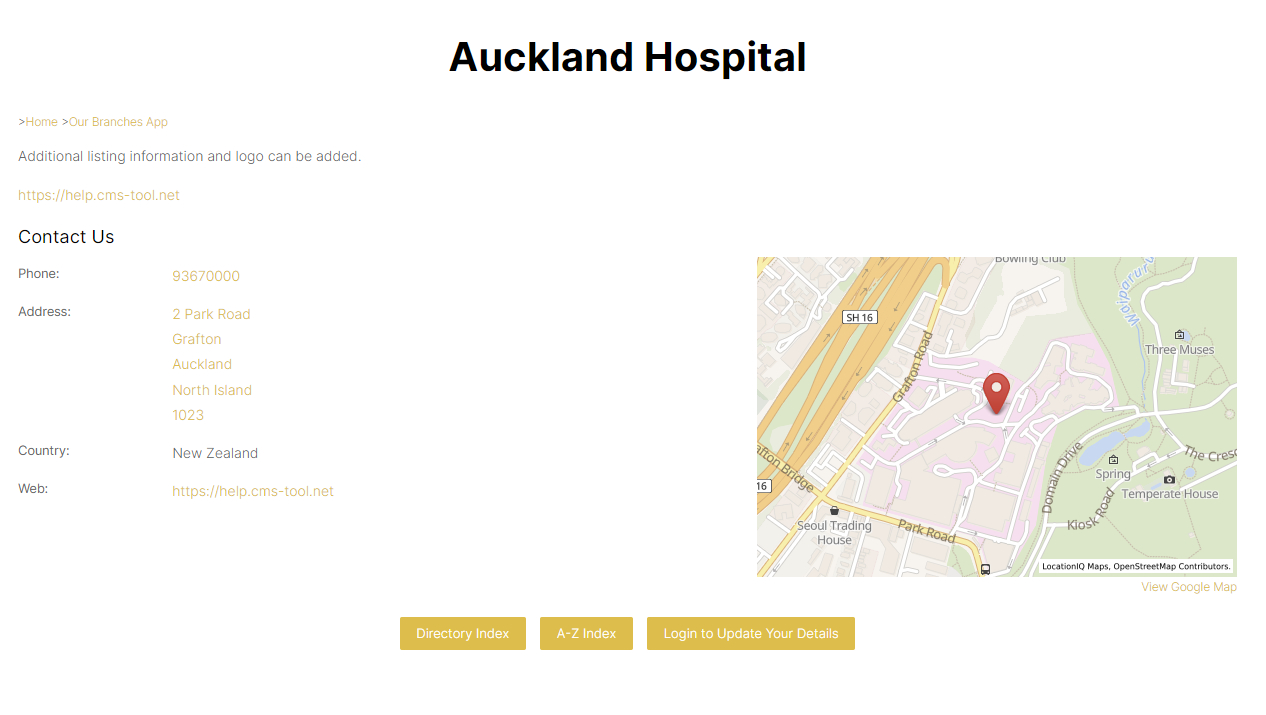
Additional information such as street address, photos and other business details can be added to the businesses listing page.
Changing the View Branch link to take the viewer directly to the branches website
You can change the default action of viewing the branch detail page to take the viewer to the URL specified in the listings Website URL: field.
You can do this when editing a listing by changing the selected option for the Instant Redirect: dropdown to Redirect to URL immediately.
Changing the View Branch button text
You can change the text on the View Branch button to something else e.g. View Stockist, via the DESIGN > REWORD PROMPTS area. Enter View Branch as the text you want to target in the left column, then the new text in the next column and save the rule.
Adding your Map Service Provider API Key
In order for the map to be viewable on your live domain you will need to get an API key from the provider you have specified in the Map Service Provider dropdown.
This may involve signing up for an account and linking a credit card depending on the account requirements.
You can then enter the API key in the API Key field available in the Setup > Setup Map section.
