Getting Started With the Drag-Drop Editor
The drag-drop editor is one of the three main content editors available in the system, it allows you to create complex grid-based layouts using images, text and other media and reformats content automatically for viewing on mobile.
The editor uses rows of snippet 'blocks' - blocks of pre-formatted content that are used to build your page.
About Snippet Blocks
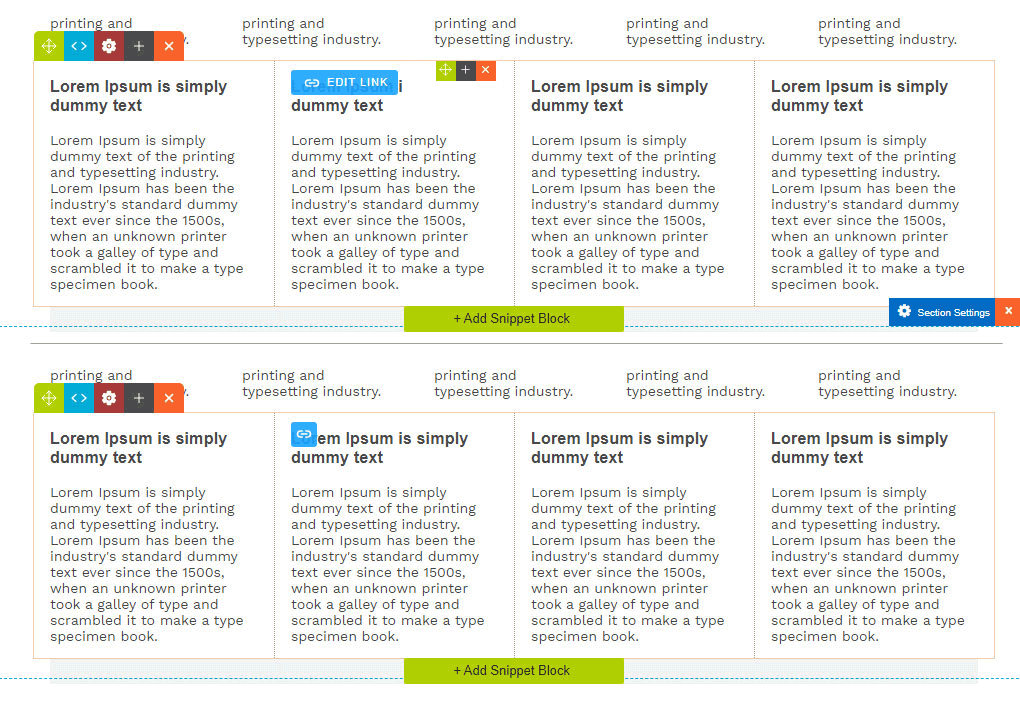
Snippet blocks are blocks of preformatted content that you can add, copy and move around the page. The blocks are made up of a Row element with Columns of content within it. There can be up to 8 columns within a row. Snippet blocks are not fixed in size, you can alter the appearance of a snippet block once it has been added to the page.
You can change a snippets column width and add remove new columns.
Columns can be set to different widths and you can add additional columns or take them away with the column tools that show when you hover over a column.
You can duplicate a snippet block to reuse an existing format
If you have formatted a snippet block with certain font sizes, colours or styling you can duplicate the existing block if you want to reuse it.
You can reorder your snippet blocks vertically.
If you want to change the order the snippets appear in vertically you can drag-drop reorder their sequence when editing a page.
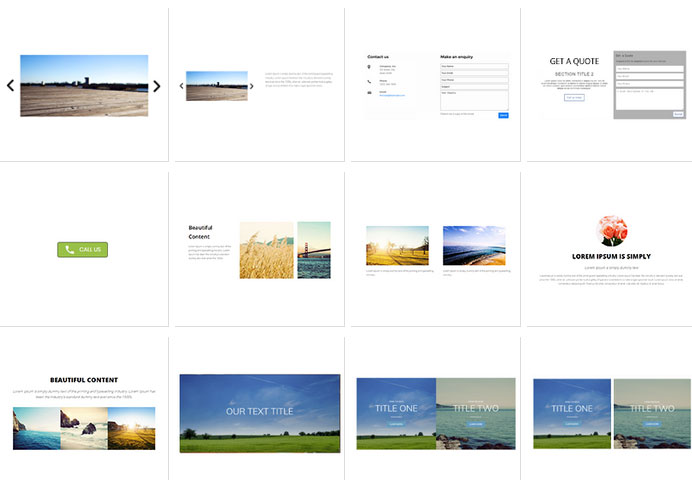
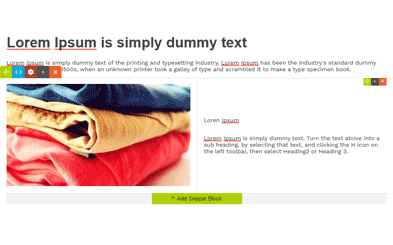
A selection of snippet blocks, including image sliders, enquiry forms, images and text, images with captions
How to build your page layout
1. Build your page layout using snippet blocks
2 Replace the default content with your own text and images
Once the content laid out on the page, change out the text and images with your own content.
Editing Content
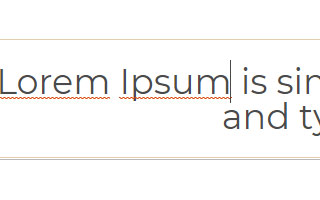
How to change Text
How to change an Image

Reorder, Delete, Duplicate
Use the icons at the top of the snippet to Move, View Code, Launch the Style Editor, Duplicate or Delete.
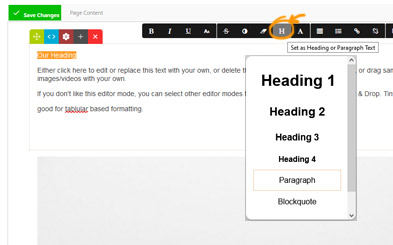
Setting Headings and Paragraph Text
You can add Heading snippets, Heading 1, Heading 2, Heading 3 as new snippets or restyle existing paragraph text by highlighing the text with your mouse, and the choosing the H icon from the toolbar.
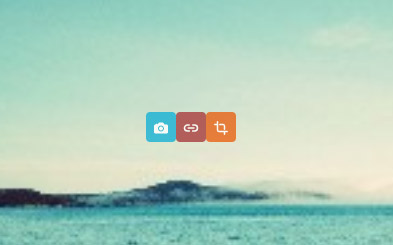
Changing an Image
Hover over any image in the page to bring up the image options icons.
- Blue Camera Icon - Browse / Replace with a new image
- Red Chain Icon - Link an image / Image Properties / SEO / Caption Settings
- Orange Crop Icon - Resize image.
Toolbars
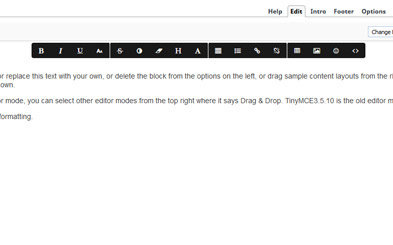
The Top Toolbar
The top toolbar appears when you click into any text area and allows you to style / reformat text, plus some other options.
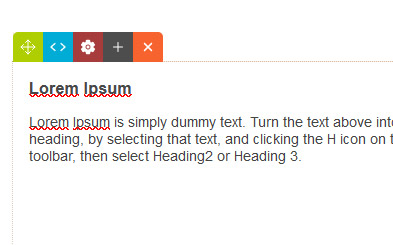
Snippet Block - Row Toolbar
The row toolbar allows you to move, edit the snippet block as a whole.
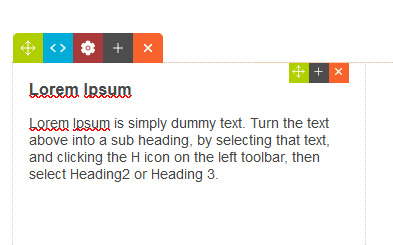
Snippet Block - Column Toolbar
The column toolbar allows you to reorder, resize or copy the current column.
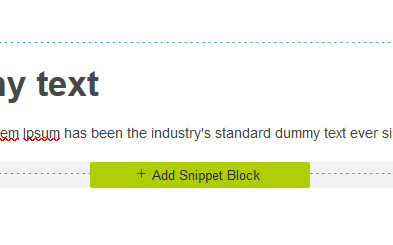
Add Snippet Block Button
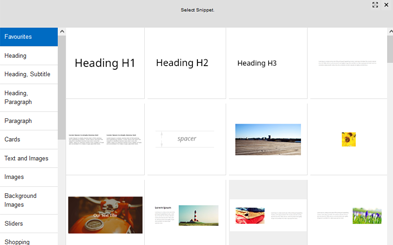
Launches a popup window which allows you to choose a new snippet block to add in the current location.
Add Snippet Block Sidebar
Allows you to drag-drop in a snippet block from the sidebar in your current content.
The Top Toolbar - Text formatting and linking

Clicking into text will highlight the top toolbar. Highlight some text with your mouse and then choose an option to change the text.
- B Icon - Bold Text
- I Icon - Italic Text
- U Icon - Underline Text
- Aa Icon - Font Size and Spacing
- S Line Icon - Strikethrough Text
- Circle Icon - Text Colour
- Eraser Icon - Remove styling
- H Icon - Change heading
- A Icon - Change font
- Four Lines - Text Alignment
- Dot plus line - List Format
- Chain Icon - add Link
- Broken Chain Icon - remove link
- Table Icon - Add Table
- Image Icon - Add Image
- Icon Icon - Add Icon
- Code Icon - View HTML
The Row Toolbar
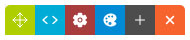
The row toolbar allows you to move, edit the snippet block as a whole.
Green 4-way Arrow Icon - Move Snippet Block Vertically, or align horizontally if no max-width.
Blue Code Icon - View HTML
Red Cog Icon - Launch Style Editor Popup
Blue Palette Icon - Launch Colour Popup
Grey Plus Icon - Duplicate Snippet
Orange X Icon - Delete Snippet
The Column Toolbar

With the Column tools you can move and change the size and number of columns.
Green 4-way Arrow Icon - Drag-drop move column left/right, or to another snippet
Grey Plus Icon - Duplicate column
Orange X Icon - Delete column
Light Blue Line - Click-drag to resize column
Adding New Content
How to add new Snippet Blocks - Drag-drop via the Add Snippet Block button.
Clicking into any existing snippet block will bring up the green + Add Snippet Block button. Clicking this button will bring up a popup window with a range of preset snippets available to add. Click the required snippet to add to the page and edit.

Click
Choose
Edit
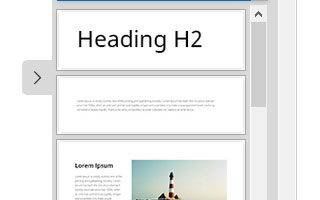
How to add new Snippet Blocks - Drag-drop via the sidebar
You can scroll down the list of default snippets using the scrollbar to the right hand side of the sidebar.
Click the > tab to hide snippet sidebar.
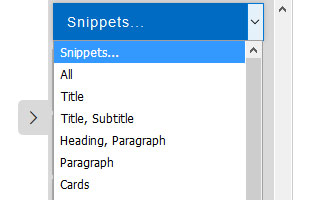
More snippets are available by clicking the Snippets.. dropdown at the top of the sidebar. Clicking the dropdown will show a list of categories, which will give you more layout options in each category.
Distraction-free mode
You can enable a distraction-free mode that hides the column and section icons temporarily, this can be enabled/disabled by double-clicking the mouse when editing content.
The distraction-free mode can make it easier to edit small column content, allow you to edit link text that is below the button, or focus on editing text removing the ability to accidentally click buttons.